Summary
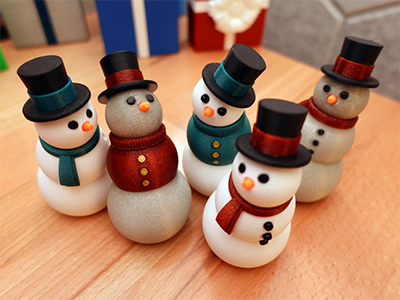
This posable articulated snowman makes for a festive fidget toy.
Printing
- All parts can be printed without supports.
- Several parts (particularly Chest.stl) have very minimal contact with the build plate. If you don't have very good adhesion, add a brim.
- Enable fuzzy skin for a packed snow look.
Customization
Chest options
- Chest.stl - This perfectly round part is the best choice if adding a scarf. The uninterrupted surface will allow the scarf to twist around freely.
- Chest_with_Arm_Holes.stl - Use this option if you plan to add posable pipe cleaner (chenille stem) arms.
- Chest_with_Large_Arm_Holes.stl - Use this option if you plan to add printable arms.
- Chest_with_No_Button_Holes.stl - Use this option if you want a chest without buttons or plan to paint/glue on your own buttons.
Accessory options
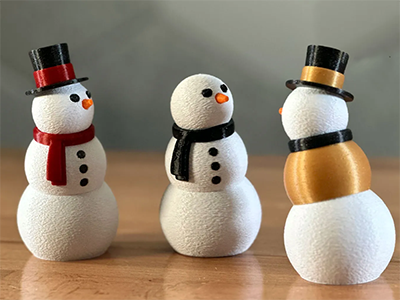
- Scarf.stl - A long scarf that runs along the side of the snowman.
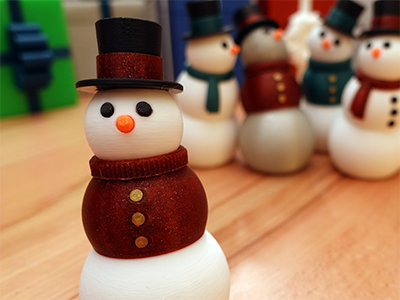
- Sweater_Collar.stl - A rough textured ring that, when coupled with chest part with the same color, looks like a sweater.
- Add buttons if desired. Buttons may block the scarf from rotating.
Bottom options
- Bottom.stl - Default bottom that uses minimum wall thickness.
- Bottom_with_Thick_Wall.stl - This option will avoid some printing artifacts that are caused by internal top layers impinging upon the outer surface of a thin wall.
- Bottom with Large Knot Hole.stl - This option matches the posable penguin bottom with extra space for a large knot.
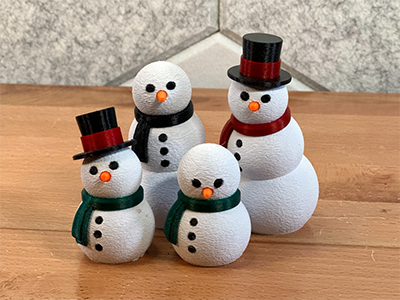
Plain Head Variation
An unadorned round head.
Lil Snowman Variation
A lil two-spheres snowman - similar to a Japanese yukidaruma.
Assembly
The main body of the snowman is held together by a rubber band, hair band, round or thin sewing elastic, or any other thin flexible item that can span between the head and the bottom and tie into a knot.
Print Head.stl & Bottom.stl or Head_with_Larger_Holes.stl & Bottom_with_Larger_Holes.stl depending on what you choose to hold the parts together. Hairbands and thicker rubber o-rings will require the "Larger Hole" versions.
The top hat is glued on. I recommend using hot glue, so you can remove it in the future.
See the video above for a step-by-step demonstration of the process.